Add, Remove, & Set Up your Bookmarks on the iPad
Safari’s interface received a major overhaul with the new iOS 7 update. Even the simplest task can be confusing at first. I will teach you how to set up your bookmarks in this tutorial.
Removing Bookmarks on Safari iOS 7
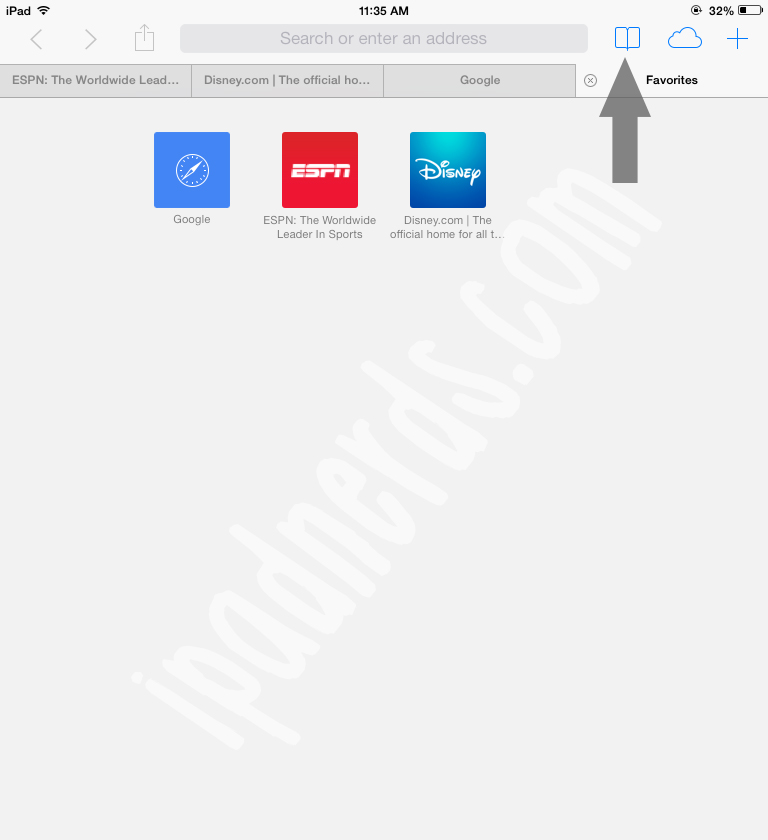
1. Open the Safari browser and click on the book icon on the top right corner.
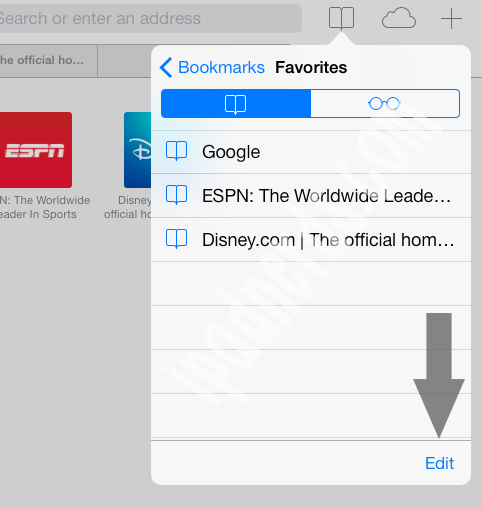
2. Click Edit.
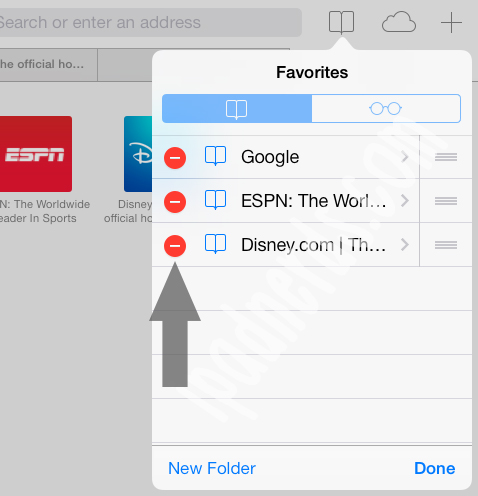
3. Click the minus button next to the bookmark you want to remove.
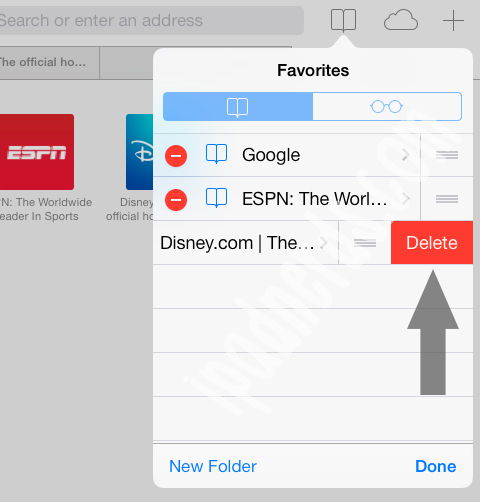
4. Click Delete to confirm the deletion of the bookmark.
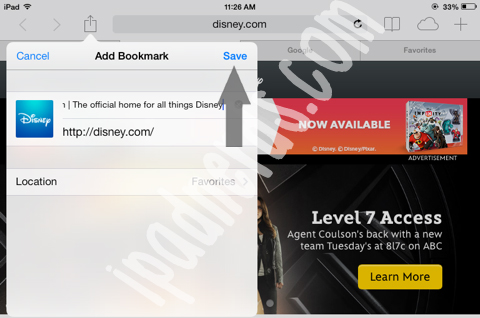
1. Navigate to the website you want to bookmark, and click on the additional menu icon on the top left corner.

2. Select the bookmark icon.

3. Click save to confirm the new bookmark.
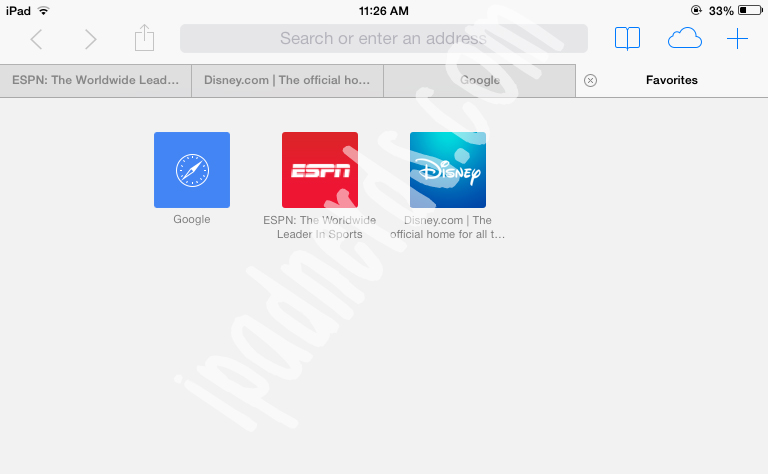
The Favorites page is the homepage for the Safari browser.
For a guide on setting up the auto fill password function for Safari, click here.
Thank you very much. I now can get rid of those annoying “favorites” that were “helpfully” added to my iPad with the last update.
This helped me immensely. Coming from android to this has been quite a change. Thanks for all your helpful advice!
Thank you!
Thank you so much for this helpful site! I am not an apple fan but do enjoy my iPad. I am not an idiot – worked in the IT field for 30 years – however this os7 makes me feel like an idiot. Many simple tasks are not very intuitive. Thanks again!
Thank you! I can’t believe I didn’t know how to do this! If I was still in school I’d be in “special class!”